
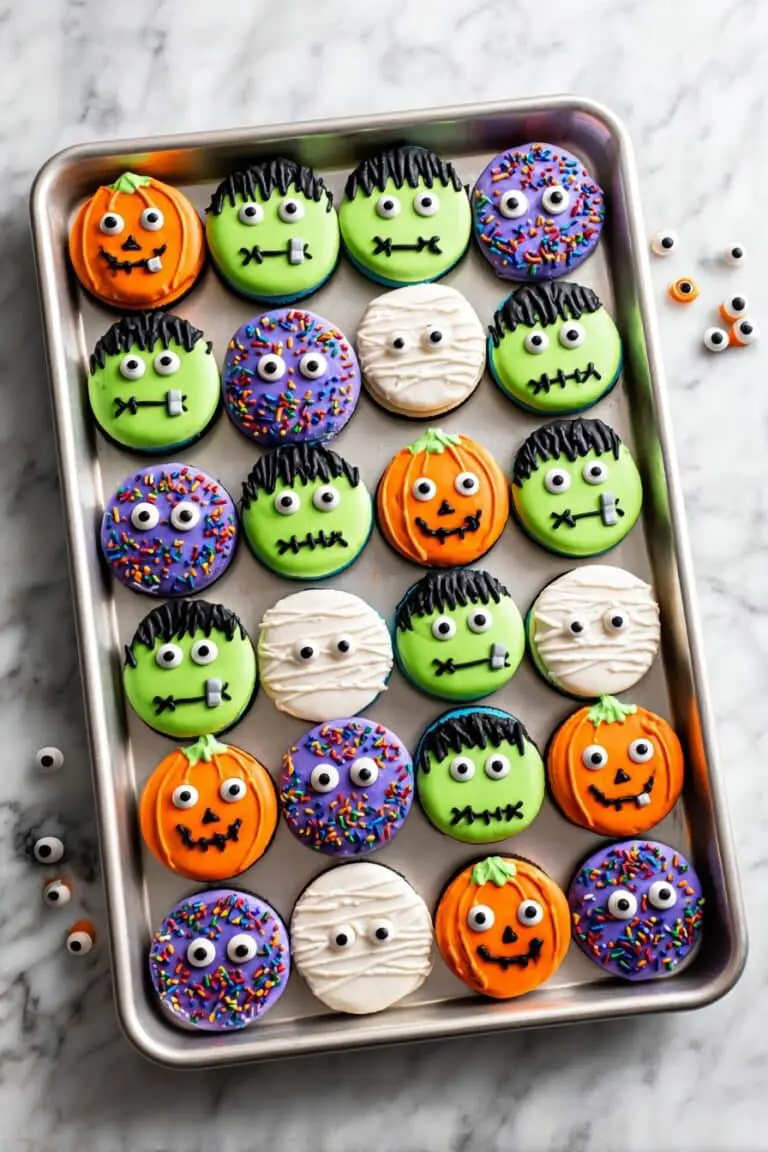
If you’re on the hunt for a cookie recipe that’s as fun to make as it is to eat, you’re going to love this one. The Spooky Ghost Cookies Recipe is a total game changer for Halloween or anytime you want to add a little ghostly charm to your baking. I absolutely love how these cookies come out perfectly buttery and tender, with that sweet, glossy icing that turns each ghost into a little edible masterpiece. Stick with me — I’ll share every tip and trick to help you nail this recipe on your first try!
Why You’ll Love This Recipe
- Festive and Fun: These ghost-shaped cookies instantly bring a festive vibe perfect for Halloween or spooky season treats.
- Simple Ingredients: You probably already have everything in your pantry, making it easy to whip up at the last minute.
- Beautiful Icing Finish: The glossy sugar cookie icing dries to a smooth finish, making decorating fun and foolproof.
- Kid-Friendly Baking: The whole family can join in, from cutting the ghosts to piping on spooky faces.

Ingredients You’ll Need
Each ingredient in this Spooky Ghost Cookies Recipe works together to create a classic sugar cookie with a subtle vanilla backdrop, perfect for decorating. When shopping, look for good-quality butter and pure vanilla extract — they make a noticeable difference here.
- All-purpose flour: Make sure it’s fresh for the best cookie texture; don’t swap out for self-rising as baking powder is added separately.
- Baking powder: This helps give the cookies just a little lift without losing their crisp edges.
- Kosher salt: Balances the sweetness and enhances flavor.
- Butter: Softened, not melted — this is key for the right cookie dough consistency.
- Granulated sugar: Adds sweetness and slight crunch to the cookie’s edges.
- Egg: Binds ingredients and adds richness.
- Milk: Helps with a tender dough and perfect bite.
- Pure vanilla extract: Brings warm, inviting flavor to the dough.
- Powdered sugar: Essential for that smooth and creamy cookie icing.
- Light corn syrup: Gives the icing that shiny, glossy finish.
- Almond (or vanilla) extract: Adds a subtle depth of flavor to your icing.
- Black food coloring: For piping spooky eyes and mouths on your ghosts.
Variations
I love to switch things up with this Spooky Ghost Cookies Recipe depending on the occasion or who I’m baking for. Don’t be afraid to get creative — it’s all about having fun in the kitchen!
- Gluten-Free Version: I’ve replaced all-purpose flour with a gluten-free blend successfully — just make sure it includes xanthan gum for structure.
- Flavor Twists: Sometimes I add a pinch of cinnamon or swap almond extract in the icing for a little nutty flavor that surprises everyone.
- Vegan Adaptation: Try using vegan butter and a flax egg; the dough holds together well, but you may want to chill a bit longer.
- Colorful Ghosts: Mixing in a few drops of pastel food coloring for the icing can create a playful batch beyond just white ghosts.
How to Make Spooky Ghost Cookies Recipe
Step 1: Mix the Dry Ingredients
Start by whisking together the all-purpose flour, baking powder, and kosher salt in a large bowl. This ensures everything is distributed evenly, which is super important for even baking. I like to take a moment here and give everything a good stir — it makes a difference when your cookie dough comes together smoothly.
Step 2: Cream the Butter and Sugar
In a separate large bowl, beat the softened butter and granulated sugar together until light and fluffy. When I first tried this recipe, I learned that using room temperature butter makes this step so much easier. Then, add the egg, milk, and vanilla extract, beating everything until it’s fully combined. Gradually add the flour mixture, mixing just until it comes together. Overmixing here will make the cookies tough, so go easy.
Step 3: Chill and Roll Out the Dough
Shape your dough into a disk, wrap it tightly in plastic wrap, and refrigerate it for at least an hour. This chilling step is a total game-changer — it firms up the butter so your dough won’t be sticky, and it helps the cookies keep their shape while baking. When you’re ready, preheat your oven to 350ºF and line baking sheets with parchment. Lightly flour your work surface and roll out the dough to about 1/8” thick—this thinness is perfect for crisp, delicate cookies. Use a ghost cookie cutter to cut out your spooky shapes. Don’t forget to re-roll the scraps and cut out more ghosts — waste not!
Step 4: Freeze Before Baking
Here’s a little trick I picked up: place the cutout cookies on the baking sheets and freeze them for about 10 minutes before baking. This helps them hold their spooky shapes perfectly during baking and prevents spreading. Your finished cookies will look like they just floated right out of the oven!
Step 5: Bake to Perfection and Cool
Bake your cookies for 8 to 10 minutes, or until the edges are just lightly golden. Keep a close eye — since they’re thin, they don’t need long, or they’ll dry out. Once baked, transfer them to a wire cooling rack and let them cool completely before decorating. This wait is tough but trust me, it makes decorating icing much easier.
Step 6: Make the Icing and Color It
While the cookies cool, mix together the powdered sugar, light corn syrup, milk, and almond extract for the sugar cookie icing. This recipe’s icing comes out shiny and perfect for piping. Divide about one-quarter of the icing into a small bowl and tint it black with food coloring — this is for those spooky eyes and mouths!
Step 7: Outline and Flood the Cookies
Place half of the white icing in a piping bag fitted with a small round tip and pipe an outline around each ghost cookie. Thinning the remaining white icing by adding a teaspoon of milk at a time until it runs easily but isn’t watery is the key to flooding the inside cleanly. Then, fill another piping bag with this thinned icing and flood the cookie centers. I like to use a toothpick to pop any air bubbles and gently spread the icing to cover any gaps. Let the icing dry for about 15 minutes so it sets nicely.
Step 8: Add the Spooky Faces
Finally, load the black icing into a piping bag and draw eyes and mouths on your ghost cookies. This step is where your spooky creativity shines! I’ve found that using a steady hand and a small tip makes it easier to get those cute or scary faces just right.
Pro Tips for Making Spooky Ghost Cookies Recipe
- Chill Twice: I always chill the dough before rolling and then freeze the cutouts before baking — this helps keep the shapes crisp and prevents spreading.
- Use Parchment Paper: It not only makes clean-up easier but helps the cookies bake evenly without sticking.
- Control Icing Consistency: When thinning your flood icing, add milk a teaspoon at a time — too runny and it’ll drip off the cookies; too thick and it’s hard to spread.
- Set Time is Key: Let your icing fully dry before stacking or storing to avoid smudges and messy decorations.
How to Serve Spooky Ghost Cookies Recipe

Garnishes
I usually keep the ghosts simple with just the black icing faces because that classic look really shines. But sometimes I sprinkle a tiny pinch of edible glitter or use orange sanding sugar around the edges for a little extra sparkle that makes them pop on the Halloween dessert table.
Side Dishes
I like serving these cookies alongside a warm cup of spiced cider or hot chocolate. The cozy drinks pair wonderfully with the buttery sweetness of the cookies and make a perfect combo for a chilly night gathering.
Creative Ways to Present
For parties, try arranging your spooky ghost cookies standing upright in a decorated box or basket lined with Halloween-colored tissue paper. Another fun idea: use little wooden sticks as handles and turn them into ghost cookie pops that kids (and adults!) will absolutely adore.
Make Ahead and Storage
Storing Leftovers
I store leftover Spooky Ghost Cookies in an airtight container at room temperature, layering pieces with parchment paper to keep the icing intact. They stay fresh and delicious for up to a week—which rarely happens, because they tend to disappear fast in my house!
Freezing
If you want to prep early, you can freeze the baked and iced cookies in a single layer on a baking sheet, then transfer to a freezer-safe container once hard. When properly sealed, they keep well for up to 3 months. Just thaw at room temperature before serving.
Reheating
These cookies don’t really need reheating, but if you want them just-baked warm, pop one or two in the microwave for about 10 seconds — just enough to soften the butter inside without melting the icing.
FAQs
-
Can I use a different shape cutter instead of ghosts?
Absolutely! This recipe works great with any cookie cutter shape you love. Just keep in mind that more intricate shapes might be harder to transfer and decorate, so chilling the dough and freezing the cutouts is especially helpful.
-
How thick should I roll the dough for Spooky Ghost Cookies Recipe?
Rolling the dough to about 1/8 inch thick is ideal—it’s thin enough for crisp edges and detailed shapes but thick enough to hold its structure and provide that buttery bite.
-
Why is the icing sometimes too runny or too thick?
Icing texture is all about balance. If it’s too runny, add a little more powdered sugar to thicken it; if it’s too thick, thin with milk a teaspoon at a time. The goal is for the icing to flow smoothly but not drip off the cookie.
-
Can I make the dough and icing ahead of time?
Yes! You can make the dough up to 2 days in advance and keep it chilled. Icing can be made a day ahead as well—just store it in an airtight container and give it a stir before using.
-
What if I don’t have almond extract for the icing?
No worries! You can simply use vanilla extract instead. Both add lovely flavor, though almond gives a slightly nutty twist that I personally love.
Final Thoughts
This Spooky Ghost Cookies Recipe is one of those treats I always come back to when I want something both festive and irresistibly delicious. Every year, I find myself making a batch to share with friends and family, and without fail, everyone ends up asking for the recipe. Whether you’re a seasoned baker or a newbie, I’m confident you’ll enjoy making (and eating!) these charming little ghosts as much as I do. So grab your cookie cutters and get ready to bake up some spooky fun — trust me, your kitchen is going to smell amazing, and your Halloween party will be the sweetest yet!
Print
Spooky Ghost Cookies Recipe
- Prep Time: 15 mins
- Cook Time: 10 mins
- Total Time: 2 hrs 25 mins
- Yield: 24 serving(s)
- Category: Dessert
- Method: Baking
- Cuisine: American
Description
Spooky Ghost Cookies are festive sugar cookies perfect for Halloween or any spooky occasion. These buttery, soft cookies are cut into ghost shapes, baked to golden edges, and decorated with smooth white and black royal-like icing to create fun ghostly faces. The recipe combines a classic sugar cookie dough with a simple homemade icing that hardens beautifully for easy decorating and stacking.
Ingredients
For the cookie dough
- 3 cups all-purpose flour, plus more for surface
- 1 tsp baking powder
- 1/2 tsp kosher salt
- 1 cup (2 sticks) butter, softened
- 1 cup granulated sugar
- 1 large egg
- 1 Tbsp milk
- 1 tsp pure vanilla extract
For sugar cookie icing
- 3 cups powdered sugar
- 1/4 cup light corn syrup
- 1/4 cup milk, plus more for thinning
- 1/4 tsp almond (or vanilla) extract
- Black food coloring
Instructions
- Mix Dry Ingredients: In a large bowl, whisk together the flour, baking powder, and kosher salt until well combined.
- Prepare Dough: In another large bowl, beat softened butter and granulated sugar together until creamy. Add the egg, milk, and vanilla extract, and beat until fully incorporated. Gradually add the dry flour mixture, mixing until just combined. Shape the dough into a disk and wrap in plastic wrap. Refrigerate for 1 hour to firm up.
- Roll and Cut Cookies: Preheat oven to 350ºF (175ºC) and line two large baking sheets with parchment paper. Lightly flour a clean surface and roll out the chilled dough to 1/8-inch thickness. Use a ghost-shaped cookie cutter to cut out cookies. Re-roll scraps as needed to make more cookies. Transfer cookie shapes to the prepared baking sheets and freeze for 10 minutes to help them hold their shape during baking.
- Bake Cookies: Bake the cookies until the edges are lightly golden, about 8 to 10 minutes. Remove from oven and transfer to a wire rack to cool completely before decorating.
- Make Icing: While cookies cool, prepare the icing. In a medium bowl, combine powdered sugar, light corn syrup, 1/4 cup milk, and almond extract. Stir until smooth.
- Prepare Black Icing: Transfer about one-quarter of the icing into a small bowl and tint with black food coloring until a deep black color is reached.
- Outline Cookies: Fit a piping bag with a small round tip and fill it with half of the white icing. Pipe an outline around the edges of each cookie.
- Fill Cookies: Thin the remaining white icing by adding milk, one teaspoon at a time, until it flows easily but is not too runny. Fill another piping bag with this thinned white icing and fill in the centers of each cookie. Use a toothpick to pop any air bubbles and spread icing evenly to fill gaps. Allow icing to set and dry for 15 minutes.
- Add Faces: Fill a piping bag with the black icing, fitted with a small round tip, and pipe eyes and mouths onto the white icing of each ghost cookie, creating spooky or playful expressions.
Notes
- Freezing the cookies before baking helps maintain their shape and prevents spreading.
- Use a light hand when adding milk to thin the icing to avoid making it too runny.
- Let the icing fully dry to prevent smudging when stacking or storing cookies.
- Almond extract in the icing adds a subtle depth of flavor but can be substituted with vanilla extract.
- Store cookies in an airtight container at room temperature for up to 5 days.
Nutrition
- Serving Size: 1 cookie
- Calories: 150
- Sugar: 12g
- Sodium: 80mg
- Fat: 7g
- Saturated Fat: 4g
- Unsaturated Fat: 2g
- Trans Fat: 0g
- Carbohydrates: 20g
- Fiber: 0.5g
- Protein: 2g
- Cholesterol: 25mg


