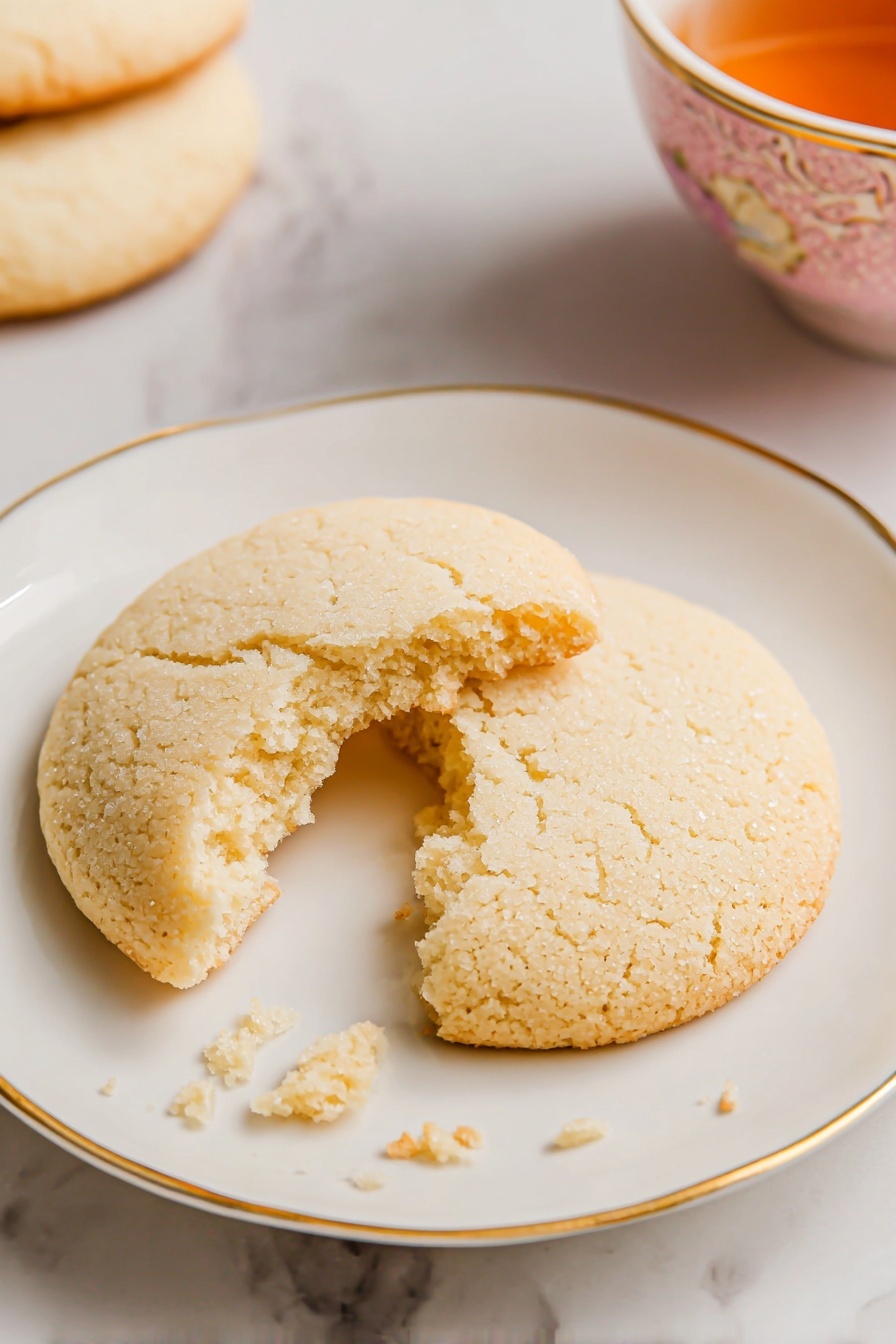
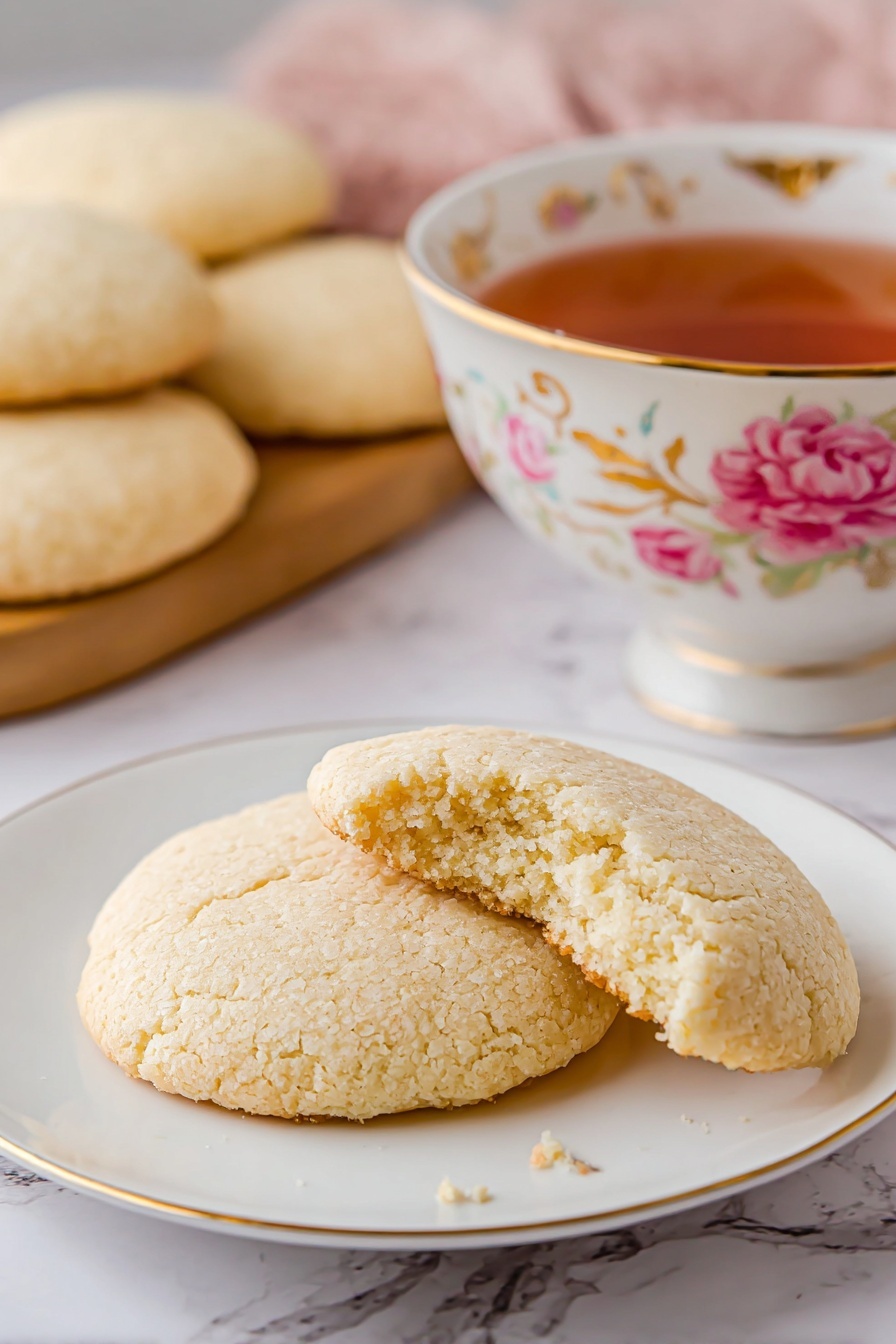
If you’re looking to bake something timeless and absolutely delicious, you’re going to want to try this Old-Fashioned Tea Cakes Recipe. It’s one of those treats that instantly takes me back to cozy afternoons with my grandma, sharing stories over a warm cup of tea. These tea cakes are soft, slightly sweet, and melt in your mouth—the perfect companion for any tea or coffee break. Trust me, once you try this recipe, you’ll be hooked and want to bake it again and again.
Why You’ll Love This Recipe
- Simple Ingredients: Requires pantry staples you probably already have, making it super approachable.
- Classic Flavor: The gentle vanilla and butter create a nostalgic taste that everyone loves.
- Perfect Texture: Soft, tender, with edges just lightly golden for that delightful bite.
- Chill Time Magic: The overnight dough chilling helps the tea cakes hold their shape and develop flavor beautifully.

Ingredients You’ll Need
Every ingredient in this old-fashioned tea cakes recipe plays a key role—whether it’s the creamy butter giving richness or the baking powder ensuring that lovely lift. I love using room temperature eggs and butter to get everything mixing smoothly, which really helps make the texture just right.

- Granulated Sugar: For that perfect level of sweetness without overpowering.
- Unsalted Butter: Softened to room temperature so it creams easily and adds richness.
- Large Eggs: Room temperature eggs help with emulsifying the batter smoothly.
- Vanilla Extract: The classic flavor booster that ties everything together.
- All-Purpose Flour: Provides structure but keeps the cakes tender.
- Baking Powder: Gives the tea cakes their gentle rise and fluffiness.
- Salt: Balances the sweetness and enhances the flavors.
- Whole Milk: Adds moisture and softens the batter for a tender crumb.
Variations
One of the best parts about the old-fashioned tea cakes recipe is how easily you can make it your own. I often tweak things depending on what’s in season or the mood I’m in—whether adding a little twist of citrus zest or swapping in almond extract for vanilla. You’ll find these cakes are a great base to experiment with.
- Lemon Zest Variation: I love adding a teaspoon of lemon zest to the dough—gives these tea cakes a fresh brightness that’s incredible with afternoon tea.
- Almond Extract Swap: Sometimes I swap vanilla for almond extract for a nutty, cozy vibe that my family adores.
- Spiced Tea Cakes: Adding a pinch of cinnamon or nutmeg adds warmth and pairs beautifully with fall flavors.
How to Make Old-Fashioned Tea Cakes Recipe
Step 1: Cream Butter and Sugar Until Fluffy
Start by creaming together the softened butter and granulated sugar. I use my stand mixer with the paddle attachment, but a hand mixer works just fine too—just keep beating for about 3 to 5 minutes until the mixture is light, fluffy, and pale in color. This step is your foundation for a tender cake, and you’ll notice it almost doubles in volume. Be patient here; it really makes a difference!
Step 2: Add Eggs and Vanilla
Next, beat in the room temperature eggs one at a time, followed by the vanilla extract. Adding eggs slowly helps keep everything emulsified so your cakes stay soft and moist. I always make sure the eggs aren’t cold straight from the fridge—I learned this the hard way when my batter started to curdle!
Step 3: Combine Dry Ingredients Separately
In a separate bowl, whisk together the flour, baking powder, and salt. This simple step ensures everything is evenly distributed so your tea cakes rise nicely and aren’t salty or dense in spots.
Step 4: Blend Dry Ingredients and Milk into Batter
With your mixer on a low speed, add half of the dry ingredients to the wet mixture and mix just until combined. Then pour in the milk—this little addition adds moisture and tenderness. Finally, add the remaining dry ingredients and mix just until the flour disappears. Be careful not to overmix here—you want the dough joined but still soft.
Step 5: Chill the Dough
This is the magic step that I never skip. Cover the dough and chill it in your refrigerator for at least 3 hours, though I usually leave it overnight. Chilling firms the dough, making it easier to handle and helping the tea cakes keep their shape instead of spreading out all over the pan.
Step 6: Prepare for Baking
When your dough is chilled, preheat the oven to 350°F (175°C) and line baking sheets with parchment paper. I like to use a #40 cookie scoop, which holds about two tablespoons of dough for perfectly sized cakes every time.
Step 7: Shape and Flatten
Scoop balls of dough onto the prepared sheets, spacing them at least two inches apart. Then, take the flat bottom of a glass and gently press each dough ball down to about a quarter-inch thick. This gives the tea cakes their signature shape and even baking.
Step 8: Bake Until Just Golden
Bake for 10 to 12 minutes until the tea cakes puff just a bit and the edges start turning a soft golden color. Be sure not to overbake—you want to catch them when they’re still tender in the middle. Overbaking turns them dry, and trust me, that defeats the whole purpose of these buttery treats.
Step 9: Cool and Enjoy
Once out of the oven, let the tea cakes cool on the pan for about 15 minutes to firm up before transferring them to a wire rack to cool completely. This pause helps keep them soft yet sturdy enough not to crumble when you pick them up.
Pro Tips for Making Old-Fashioned Tea Cakes Recipe
- Don’t Skip the Chill: Refrigerating the dough helps control spread and deepens flavor—I’ve found this step indispensable for consistent results.
- Room Temperature Ingredients: Always bring eggs and butter to room temp for a smooth, creamy mixture; cold ingredients can cause lumps and curdling.
- Gentle Mixing: Add dry ingredients slowly and mix just until combined to keep the cakes tender and avoid toughness.
- Baking Time Watch: Pull the cakes from the oven once the edges start to color; they’ll continue setting as they cool.
How to Serve Old-Fashioned Tea Cakes Recipe
Garnishes
I like to keep it simple with these tea cakes—just a light dusting of powdered sugar or a thin spread of butter on top while they’re still warm. Sometimes, for a little special occasion, I add a dab of homemade jam or a drizzle of honey. Those small touches really make them feel extra special.
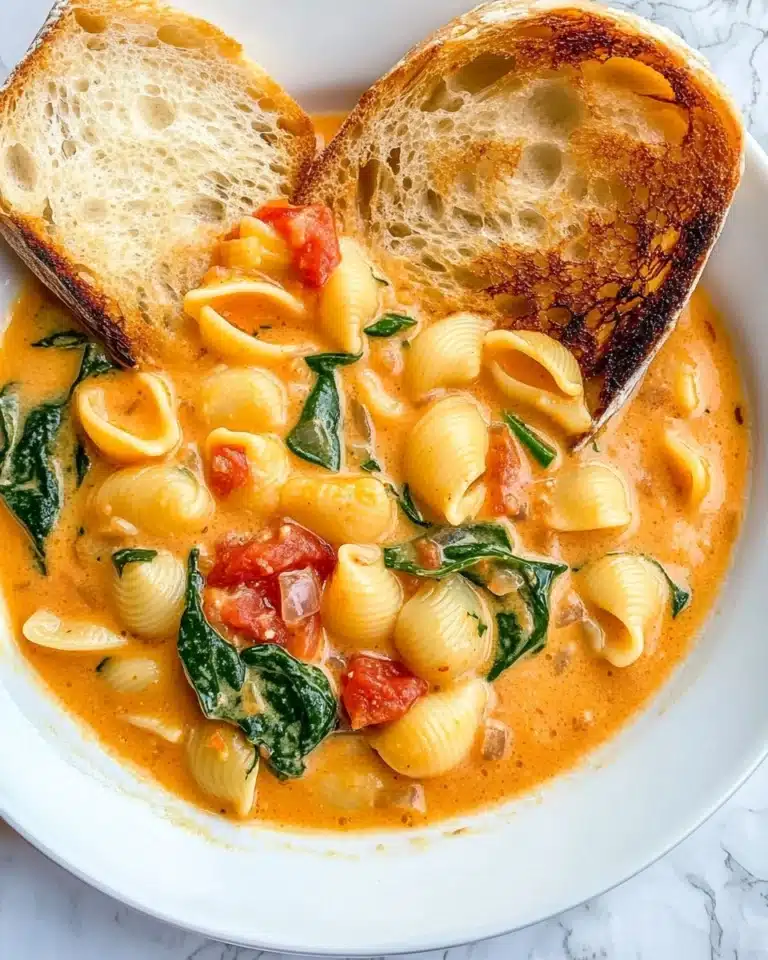
Side Dishes
These tea cakes are perfect alongside a classic pot of tea—Earl Grey or chamomile are personal favorites. I’ve also served them with fresh fruit, like berries or sliced apples, for a light breakfast or afternoon snack that’s both comforting and satisfying.
Creative Ways to Present
For gatherings, I’ve laid these tea cakes out on a beautiful tiered tray with small bowls of clotted cream, marmalade, and fresh lemon curd. It’s such a charming way to invite guests to build their own perfect bite and elevates the humble tea cake to an event-worthy treat.
Make Ahead and Storage
Storing Leftovers
I store leftover tea cakes in an airtight container at room temperature—they usually keep perfectly soft for up to a week. If I notice they start to dry out, a quick splash of water on a paper towel in the container helps maintain their moisture.
Freezing
Freezing these tea cakes works well too! I freeze them in a single layer on a baking sheet, then transfer to a freezer bag. When I want a treat, I just thaw them at room temperature or gently warm them in the oven—it feels like fresh-baked each time.
Reheating
To reheat, place the tea cakes in a preheated 300°F oven for about 5 minutes. This warms them through without drying them out and revives that “just baked” softness. It’s a little trick that makes enjoying leftovers so much better.
FAQs
-
Can I skip chilling the dough for my Old-Fashioned Tea Cakes Recipe?
Technically, you could bake the dough right away, but chilling is a game changer. It helps the dough firm up, which prevents spreading during baking and enhances the texture and flavor. I recommend chilling for at least 3 hours; overnight is even better if you have the time.
-
How can I make my tea cakes more flavorful?
Adding vanilla extract is a classic choice, but you can also add lemon or orange zest, almond extract, or a pinch of spices like cinnamon. These subtle tweaks give the cakes a delightful depth without overpowering their classic character.
-
What’s the best way to store these tea cakes?
Store them in an airtight container at room temperature for up to one week. For longer storage, freezing is excellent. Just thaw at room temp or warm up gently before serving to keep that fresh-baked texture.
-
Can I make these tea cakes gluten-free?
You can experiment with a gluten-free all-purpose flour blend, but because this recipe relies on gluten for structure, you might need to add a binder like xanthan gum. I haven’t tested this myself, but many friends have had success with high-quality gluten-free flours.
Final Thoughts
Old-fashioned tea cakes hold such a special place in my heart—they’re reminders of slow, peaceful moments shared with loved ones. This recipe is a keeper because it’s simple, reliable, and utterly delicious. I can’t wait for you to try making these yourself and see how they become part of your own family traditions. So grab your mixer, chill that dough, and get ready for some seriously comforting homemade tea cakes.
Print
Old-Fashioned Tea Cakes Recipe
- Prep Time: 10 minutes
- Cook Time: 10 minutes
- Total Time: 3 hours 20 minutes
- Yield: 20 cookies
- Category: Dessert
- Method: Baking
- Cuisine: American
Description
Classic Old-fashioned Tea Cakes are tender, buttery cookies with a delicate vanilla flavor. Perfectly crisped on the edges and soft in the middle, these cookies are an ideal teatime treat or sweet snack any time of day.
Ingredients
Wet Ingredients
- 1 cup granulated sugar
- ½ cup unsalted butter, room temperature
- 2 large eggs, room temperature
- 2 teaspoons vanilla extract
- ¼ cup whole milk
Dry Ingredients
- 3 cups all purpose flour
- 2 teaspoons baking powder
- ½ teaspoon salt
Instructions
- Cream butter and sugar: In the bowl of a stand mixer fitted with paddle attachment, or using a hand mixer in a large bowl, cream together the sugar and butter until the mixture is light and fluffy, which takes about 3 to 5 minutes. Then, beat in the eggs followed by the vanilla extract until fully incorporated.
- Combine dry ingredients: In a separate bowl, whisk together the all-purpose flour, baking powder, and salt to evenly distribute the leavening and seasoning.
- Mix dough: With the mixer on low speed, gradually add half of the dry ingredient mixture to the wet ingredients until just combined. Next, mix in the milk. Add the remaining dry ingredients and mix only until the dough just comes together, taking care not to overmix to keep the cookies tender.
- Chill dough: Cover the dough and refrigerate it for at least 3 hours, ideally overnight, to firm up. This step is important to help the cookies hold their shape during baking.
- Preheat oven and prepare pans: When ready to bake, preheat your oven to 350°F (175°C) and line baking sheets with parchment paper for easy cleanup and even baking.
- Shape cookies: Scoop 2 tablespoons of chilled dough (using a #40 cookie scoop if available) and shape each portion into a smooth ball with your hands. Place the dough balls on the prepared baking sheets, spacing them at least 2 inches apart.
- Flatten cookies: Use the flat bottom of a glass to gently press each dough ball to about ¼ inch thickness, ensuring an even, uniform shape.
- Bake cookies: Bake in the preheated oven for 10 to 12 minutes, until the cookies have puffed slightly and the edges start to turn golden brown. Avoid overbaking to keep them soft inside.
- Cool: Remove the baking sheets from the oven and allow the cookies to cool on the pans for 15 minutes. Then transfer them to a cooling rack to cool completely before serving or storing.
Notes
- Chill the dough for at least 3 hours to help the cookies maintain their shape and texture during baking.
- Use a #40 cookie scoop (approximately 2 tablespoons) to ensure even cookie size and baking consistency.
- Bake just until the edges begin to lightly turn golden to avoid drying out the cookies.
- Optional: Roll out the chilled dough to ¼-inch thickness and use a 2–2.5 inch glass, biscuit cutter, or cookie cutter to cut into rounds for a different cookie shape.
- Store baked cookies in an airtight container at room temperature for up to one week to keep them fresh.
Nutrition
- Serving Size: 1 cookie
- Calories: 150
- Sugar: 8g
- Sodium: 90mg
- Fat: 7g
- Saturated Fat: 4g
- Unsaturated Fat: 3g
- Trans Fat: 0g
- Carbohydrates: 20g
- Fiber: 0.5g
- Protein: 2g
- Cholesterol: 35mg


