If you’ve ever wanted to impress your guests with a fancy, bakery-worthy treat but without the fuss, then this Easy Palmiers Recipe with Puff Pastry Recipe is exactly what you need. Seriously, these little golden delights have a surprising crunch and caramelized sweetness that will make you wonder why you didn’t try them sooner. I absolutely love how this turns out every single time—even when I’m in a hurry. Stick with me and I’ll show you all the tips and tricks to nail these perfect palmiers right in your own kitchen.
Why You’ll Love This Recipe
- Minimal Ingredients: You only need puff pastry and sugar—super simple and accessible.
- Quick to Make: From start to finish, these palmiers are done in under 30 minutes.
- Crowd Pleaser: My family goes crazy for these crispy, sweet treats every time.
- No Baking Expertise Needed: Trust me, even beginners can pull this off without a hitch.

Ingredients You’ll Need
These palmiers shine because the ingredients are straightforward, letting the puff pastry’s buttery layers really take center stage. Also, picking the right sugars makes a big difference in texture and that gorgeous caramelization you’re after.
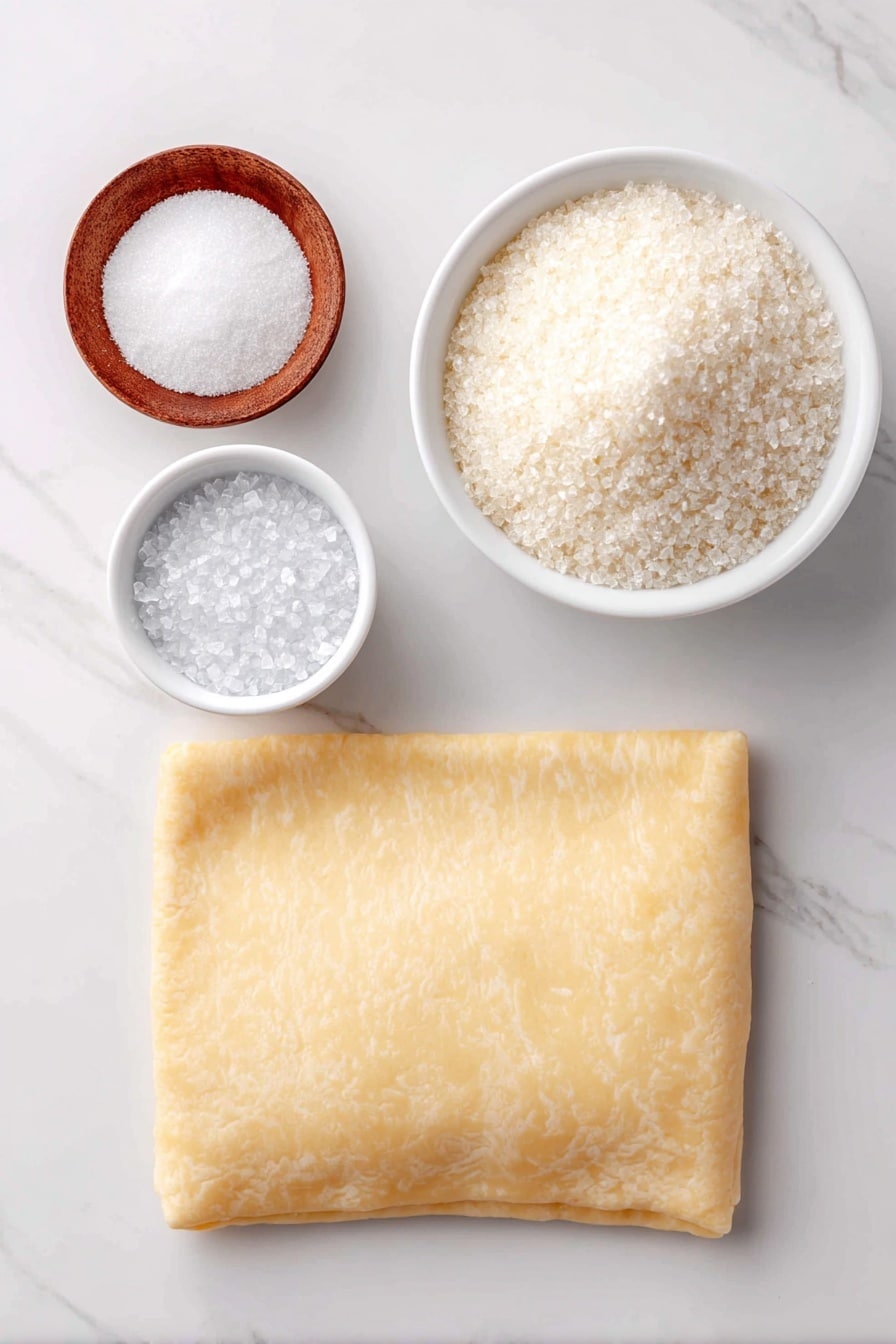
- Puff Pastry Sheet: I recommend using store-bought frozen puff pastry for ease—but make sure it’s thawed properly so it rolls out smoothly.
- Granulated Sugar: Nice and fine, it melts into the dough to sweeten every bite just right.
- Coarse Sugar: This adds crunch and a beautiful sparkle on top of the palmiers—don’t skip it!
Variations
I love how customizable this recipe is, and once you’ve made the classic version, you might want to play with flavors or textures. Palmiers are like a blank canvas—you can add your twist or keep it simple, depending on your mood.
- Cinnamon Sugar Palmiers: When I first tried adding cinnamon to the sugar, it gave the palmiers a warm, cozy flavor that was a big hit during chilly mornings.
- Chocolate-Dipped: For a fun party treat, dip half of each baked palmier into melted chocolate—my kids went wild for this.
- Savory Twist: If you want to shake things up, try replacing sugar with a mixture of grated parmesan and herbs for a crispy, cheesy snack.
- Nutty Variation: Sprinkle finely chopped nuts like pistachios or almonds before folding the pastry for an extra crunch and nutty aroma.
How to Make Easy Palmiers Recipe with Puff Pastry Recipe
Step 1: Prep Your Oven and Baking Sheets
First things first, preheat your oven to a hot 450°F. This initial high heat is key to making the palmiers puff and caramelize beautifully—it gives them that perfect crispiness I adore. Line two baking sheets with parchment paper so your palmiers don’t stick and bake evenly.
Step 2: Sugarcoat Your Workspace and Puff Pastry
Dust your clean work surface generously with a mix of granulated sugar and coarse sugar—this helps the sugar stick to the dough right from the start and adds that irresistible crunch. Place the thawed puff pastry on top and sprinkle a bit more granulated sugar and just a touch of coarse sugar on it. Grab your rolling pin and gently roll the dough just enough to press the sugar into all those buttery layers. Don’t overdo it, or your pastry might get too thin in spots.
Step 3: Fold, Fold, Fold!
Here comes the fun part! Fold each long side of the puff pastry in towards the center—and do this twice to get a neat, even fold. Then sprinkle a little more sugar over the exposed surface before folding each side in one final time until they touch in the middle forming a double roll. This rolling technique is what creates those classic palmier layers, so take your time to keep it tight and even.
Step 4: Slice Your Palmiers
Using a sharp knife, slice the formed dough log into 24 thin pieces, roughly ¼ inch thick. I always wipe my knife with a damp towel between cuts to keep the edges clean and prevent sticking—makes a huge difference in the final look of your palmiers!
Step 5: Arrange and Bake
Place your cut palmiers on the baking sheets, leaving about 2 inches between each cookie so they have space to expand. Pop the trays into the oven and bake for 6 minutes—this first bake gets them puffed and golden on one side. Then carefully flip each one over and bake for another 4 to 6 minutes until both sides reach that gorgeous deep golden brown. Keep an eye on them because sugar can go from caramelized to burnt pretty quickly.
Step 6: Cool and Enjoy
Once baked, let your palmiers cool completely on a wire rack. This step is crucial—if you try to eat them warm, they might feel a bit soft, but cool down and they develop that signature crisp. Trust me on this one; patience really pays off.
Pro Tips for Making Easy Palmiers Recipe with Puff Pastry Recipe
- Keep Everything Cold: When I first made palmiers, I learned that cold dough makes folding easier and keeps the layers crisp after baking.
- Use a Serrated Knife: Cutting the dough with a serrated or very sharp knife prevents squashing your delicate layers.
- Flip Halfway for Even Brownness: Turning the palmiers halfway through baking ensures both sides caramelize evenly and get equally crispy.
- Don’t Skip Coarse Sugar: That extra crunch and sparkle really elevate the final cookie, making it feel extra special.
How to Serve Easy Palmiers Recipe with Puff Pastry Recipe

Garnishes
Honestly, these palmiers don’t need much to shine. I like to dust a tiny sprinkle of powdered sugar over them before serving—it’s subtle but adds a lovely finish. For special occasions, a drizzle of dark chocolate or a light brush of melted butter before baking ups the decadence factor effortlessly.
Side Dishes
Palmiers make a delightful partner to a warm cup of tea or coffee—perfect for breakfast or afternoon snack. I’ve also served them alongside fresh fruit and whipped cream for a simple but elegant dessert spread that my guests rave about.
Creative Ways to Present
For parties, I like to stack these palmiers in a tall glass jar or arrange them on a tiered dessert stand to really wow the crowd. You can even thread a few on wooden skewers with berries for a cute handheld treat at gatherings. The crispy, swirled beauty of palmiers makes them look fancy even when you keep it casual.
Make Ahead and Storage
Storing Leftovers
Once fully cool, I store leftover palmiers in an airtight container at room temperature to keep their crunch. They usually stay fresh and crispy for 3 to 4 days, which is perfect for snacking throughout the week without having to bake again.
Freezing
I’ve frozen assembled but unbaked palmiers by wrapping the rolled dough log tightly in plastic wrap and then foil. When I feel like a treat, I slice and bake them directly from frozen, adding a couple extra minutes to the bake time. This discovery saved me on busy days when I wanted quick fresh palmiers!
Reheating
If you rehear leftovers, a quick toast in the oven or toaster oven at 325°F for 3-5 minutes revives the crisp texture nicely—skip the microwave, which makes them soggy. I always feel like they taste almost as good as freshly baked this way.
FAQs
-
Can I make palmiers ahead of time?
Absolutely! You can assemble the puff pastry log and wrap it tightly in plastic wrap, then freeze it for up to a month. When you’re ready, slice and bake them straight from frozen—just add a few extra minutes to the baking time. This makes it easy to enjoy fresh palmiers whenever the craving hits.
-
What’s the difference between granulated and coarse sugar in this recipe?
Granulated sugar dissolves into the dough, adding sweet flavor, while coarse sugar stays crunchy, giving palmiers that signature crackle and beautiful caramelized finish. Using both provides a perfect balance of texture and taste.
-
How do I avoid burning the sugar on palmiers?
Keeping a close eye toward the end of baking is key. Sugar caramelizes quickly and can burn if left too long. Flipping the palmiers halfway through baking helps ensure even browning, and lowering the oven temperature slightly if you notice dark spots can prevent burning.
-
Can I use homemade puff pastry for this recipe?
Yes, you can! While homemade puff pastry requires more time and skill, it’ll make your palmiers extra special. Just make sure your puff pastry sheet is well-chilled before starting to get the best rise and flakiness.
Final Thoughts
This Easy Palmiers Recipe with Puff Pastry Recipe is a tried-and-true favorite that never fails to impress. I used to struggle with finding quick, elegant desserts until I stumbled upon this insanely simple method that always delivers buttery, crispy, caramelized little beauties. I can’t wait for you to take this recipe for a spin—I’m positive it’ll become your go-to treat for celebrations or anytime you want to spoil yourself and your loved ones. So go ahead, roll up your sleeves, and enjoy every crunchy, sweet bite of these perfect palmiers!
Print
Easy Palmiers Recipe with Puff Pastry Recipe
- Prep Time: 10 minutes
- Cook Time: 12 minutes
- Total Time: 22 minutes
- Yield: 24 palmiers
- Category: Dessert
- Method: Baking
- Cuisine: French
- Diet: Vegetarian
Description
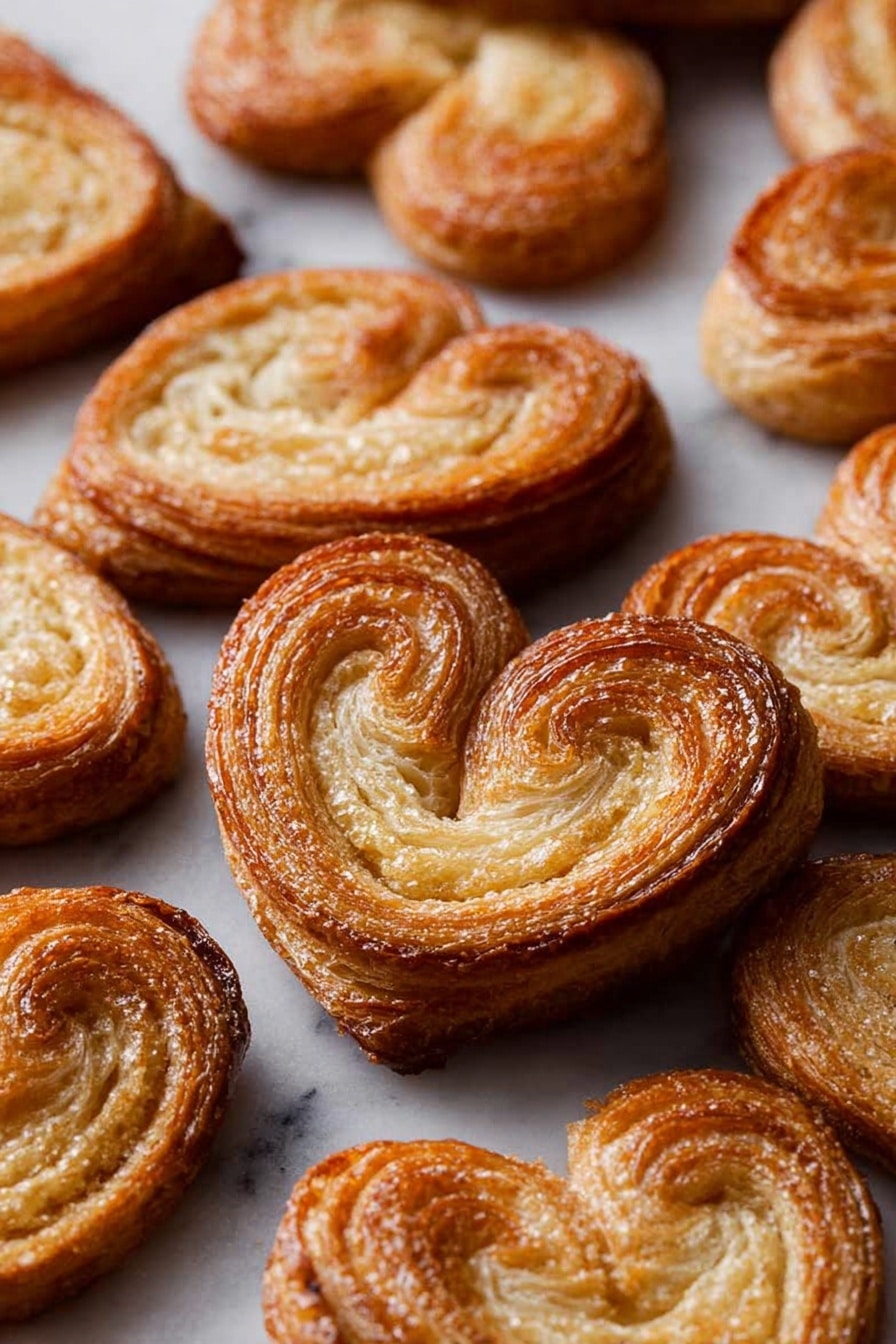
Delight in the crisp, caramelized goodness of homemade Palmiers, a classic French pastry made from puff pastry and sugar. These elegant, heart-shaped cookies feature a buttery, flaky texture with a sweet crunch from the caramelized sugar coating, perfect for tea time or as a sophisticated treat.
Ingredients
Ingredients
- 1 sheet puff pastry
- ⅓ cup granulated sugar
- ¼ cup coarse sugar
Instructions
- Preheat the oven: Set your oven to 450 degrees Fahrenheit and line two baking sheets with parchment paper to prevent sticking and ensure easy cleanup.
- Prepare the puff pastry: Lightly dust a clean surface with a mix of granulated and coarse sugar. Place the puff pastry sheet on top, then sprinkle additional granulated sugar and a light dusting of coarse sugar over it. Use a rolling pin to gently roll the dough until the sugar is pressed into the surface.
- Fold the pastry: Fold each long side of the puff pastry inward twice so they meet at the center. Sprinkle more sugar over the folded pastry, then fold each side once more so that the edges touch, creating a log shape packed with sugar layers.
- Slice into pieces: Using a sharp knife, cut the folded log into 24 thin slices, about ¼ inch thick each, ensuring even pieces for uniform baking.
- Arrange on baking sheets: Place the sliced cookies on the prepared baking sheets, spacing them approximately 2 inches apart to allow for expansion during baking.
- Bake the palmiers: Bake the cookies for 6 minutes, then carefully remove the pans, flip each piece over to brown the other side, and return to the oven for another 4 to 6 minutes until they are deeply golden brown and caramelized.
- Cool and serve: Transfer the palmiers to a wire rack and let them cool completely before serving to enjoy their crisp texture.
Notes
- Using both granulated and coarse sugar adds a beautiful texture and caramelization to the palmiers.
- Ensure your puff pastry is well chilled before starting for easier handling and better layers.
- Cut slices evenly to help the palmiers bake uniformly.
- Cooling completely is key to letting the sugar harden and achieve a crunchy finish.
Nutrition
- Serving Size: 1 cookie (approx.)
- Calories: 80
- Sugar: 5g
- Sodium: 10mg
- Fat: 5g
- Saturated Fat: 2g
- Unsaturated Fat: 3g
- Trans Fat: 0g
- Carbohydrates: 9g
- Fiber: 0.2g
- Protein: 1g
- Cholesterol: 0mg


