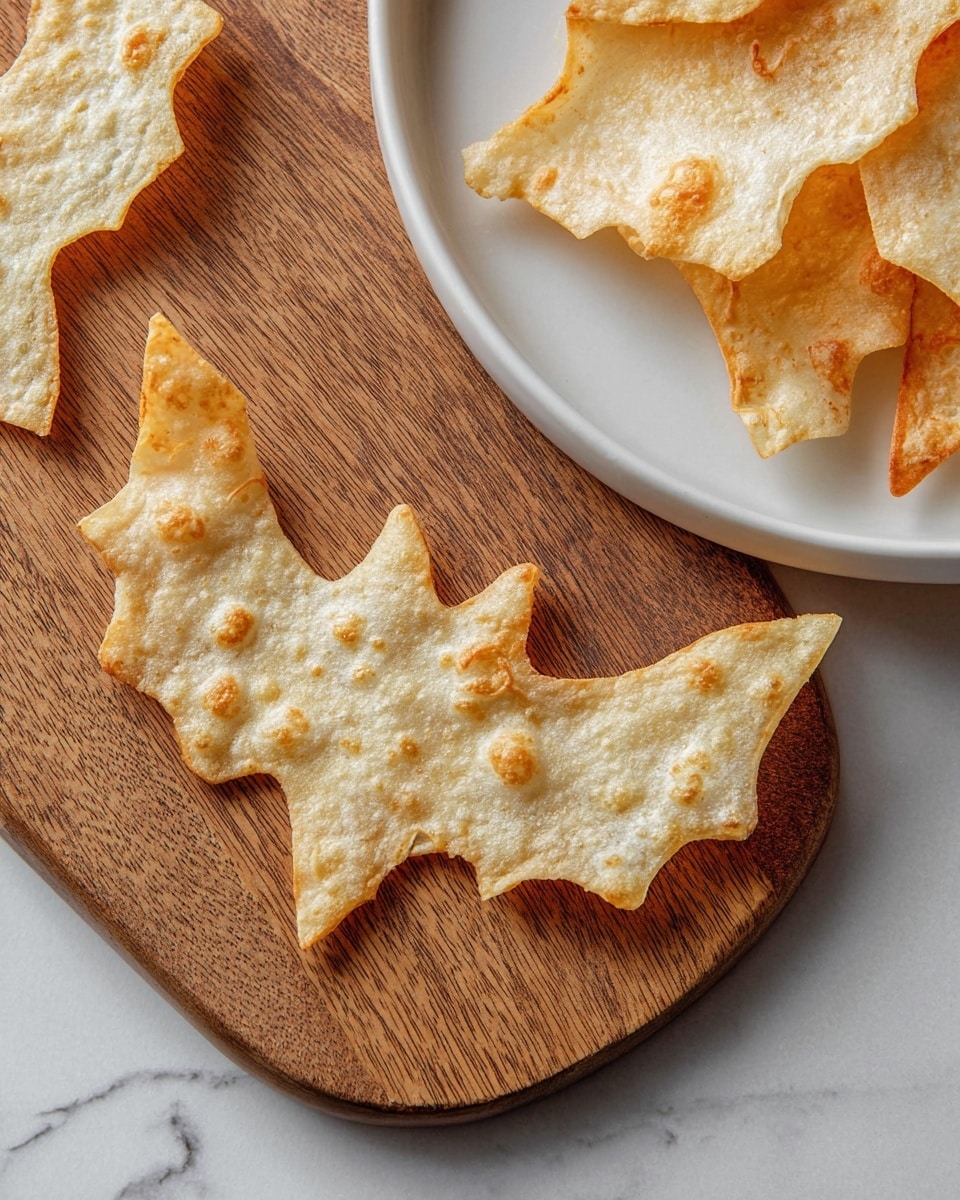
Hey friend, if you’re looking for a fun, festive snack that’s just perfect for this spooky season, I’ve got you covered with my Baked Halloween Tortilla Chips Recipe. These chips aren’t just adorable—they’re crispy, flavorful, and so easy to make right at home. Whether you’re gearing up for a Halloween party or just want a themed snack to surprise the kids (or yourself!), you’re going to love how these turn out. Stick around, and I’ll share everything you need to make these festive treats a smashing success.
Why You’ll Love This Recipe
- Easy and Quick: You’ll have these chips baked and ready in just about 15 minutes—perfect for last-minute snack cravings.
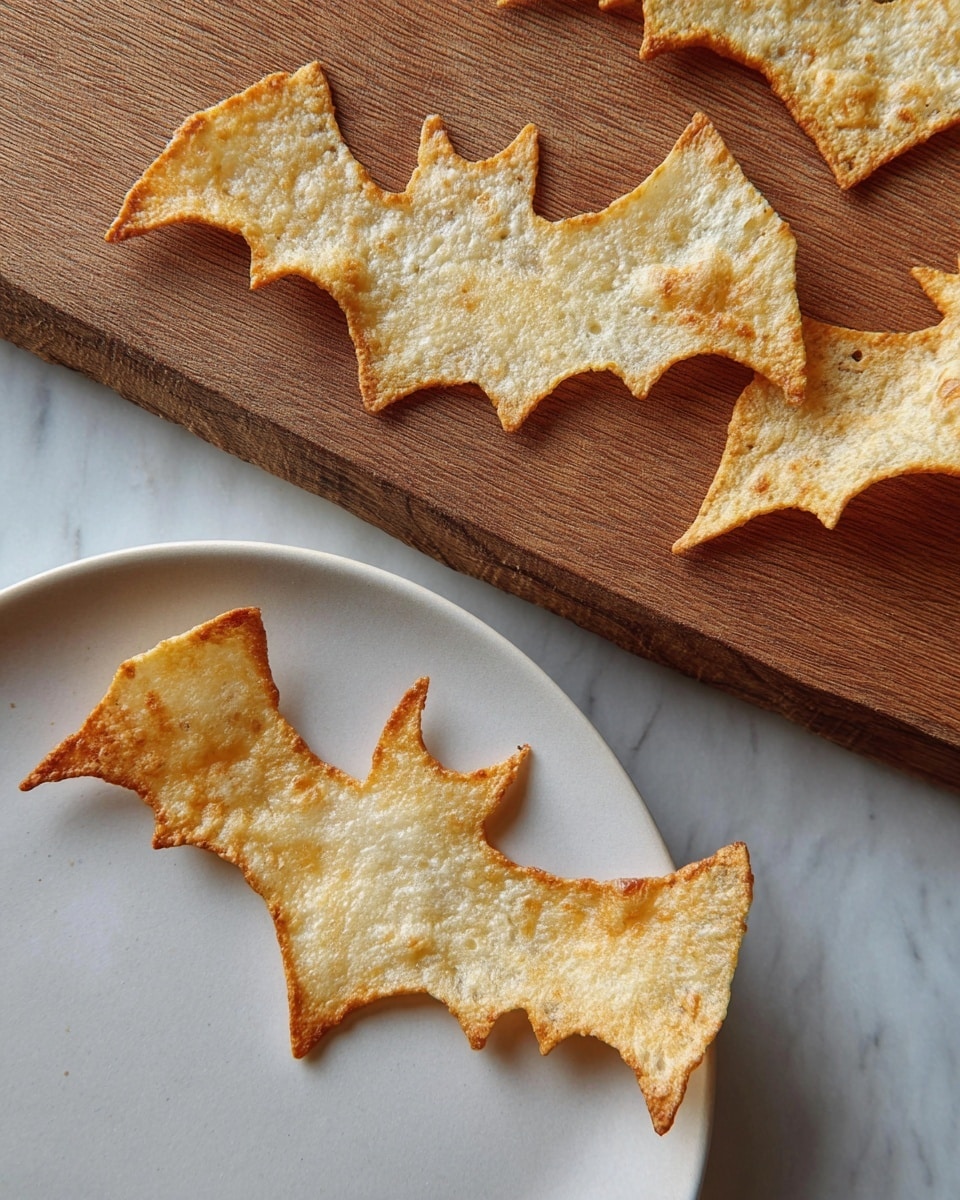
- Customizable Shapes: Using Halloween-themed cookie cutters makes these chips truly festive and fun to serve.
- Light and Crispy: Baking instead of frying keeps them healthier, while still delivering that perfect crunch I love.
- Kid-Friendly and Crowd-Pleasing: My family goes crazy for these every year—they’re a total hit with kids and adults alike.

Ingredients You’ll Need
The beauty of this Baked Halloween Tortilla Chips Recipe is its simplicity. Just a handful of basic ingredients that come together beautifully, making the chips flavorful and crispy. You can find everything easily at any grocery store, and I’ve got a few tips to make sure you pick the right ones.
- Flour tortillas: Choose fresh, store-bought tortillas that are neither too thick nor too thin—medium thickness works best for crisping up evenly.
- Cooking spray or olive oil: Either works wonderfully; olive oil adds a slight richness while cooking spray keeps things light.
- Salt or seasoning of choice: Classic salt is perfect, but I often mix in garlic powder, smoked paprika, or even a dash of chili powder for a little smoky kick.
- Halloween-themed cookie cutters: Essential for that spooky fun factor—grab a set with bats, pumpkins, witches, or ghosts!
Variations
I’m all about making recipes your own, so here are a few fun ways I’ve played around with this Baked Halloween Tortilla Chips Recipe to switch things up depending on the mood or occasion—feel free to try them yourself!
- Spicy Variation: I love sprinkling a mix of cayenne pepper and smoked paprika on the chips before baking—it adds a perfect kick that my husband adores.
- Cheesy Twist: Add a sprinkle of finely grated Parmesan cheese right after baking, while the chips are still warm, for a savory upgrade.
- Whole Wheat Tortillas: For a heartier, more wholesome chip, I swap in whole wheat tortillas—just watch the baking time to avoid burning.
- Sweet and Savory: Sometimes I dust the chips with cinnamon sugar instead of salt to create a fun dessert chip that kids love.
How to Make Baked Halloween Tortilla Chips Recipe
Step 1: Prep Your Oven and Tortillas
Start by preheating your oven to 350°F (175°C). While it’s warming up, lay your tortillas flat on a clean countertop. This is where the fun begins—grab your Halloween-shaped cookie cutters and gently press them into the tortillas to cut out spooky shapes. Depending on the size of your cutters and tortillas, you might get several shapes from one tortilla, so try to use up the whole tortilla without much waste.
Step 2: Oil and Season Your Chips
Place your cut-out tortilla shapes on a baking sheet lined with parchment paper or a silpat mat. I like to lightly mist them with cooking spray or brush a tiny bit of olive oil over both sides—this helps the seasoning stick and also crisps the chips up. Then sprinkle your salt or chosen seasoning evenly on top. Don’t overdo it; a little goes a long way to flavor these babies.
Step 3: Bake Until Crispy
Pop the baking sheet into the oven and bake for about 10 to 12 minutes. Keep a close eye on them around the 8-minute mark because tortilla chips can go from golden to burnt faster than you’d think! You want them to turn a lovely golden brown and feel crispy to the touch. After baking, let them cool on the sheet for a few minutes—they’ll crisp up even more as they cool.
Step 4: Serve and Enjoy
Serve these charming chips with your favorite dips like guacamole, salsa, or a creamy queso. Or just eat them straight from the baking sheet—you won’t judge! They’re perfectly snackable that way.
Pro Tips for Making Baked Halloween Tortilla Chips Recipe
- Use Fresh Tortillas: Older tortillas can be too dry and brittle, making cutting and baking tricky—fresh ones yield perfect chip texture.
- Cut Neatly: When using cookie cutters, press firmly but gently to avoid tearing, and gather leftover scraps to bake extra chips.
- Check Oven Hot Spots: Rotate your baking sheet halfway to ensure even coloring and crispness all around.
- Don’t Skip Cooling: Letting chips cool on the sheet helps them firm up and prevents them from getting soggy.
How to Serve Baked Halloween Tortilla Chips Recipe
Garnishes
When I serve these chips, I like to sprinkle a tiny bit of extra finishing salt or a pinch of smoked paprika right before serving for that extra pop of flavor and color. Adding a few fresh chopped herbs like cilantro on your dips can brighten the whole presentation, too. It’s simple touches like these that make your snack tray shine!
Side Dishes
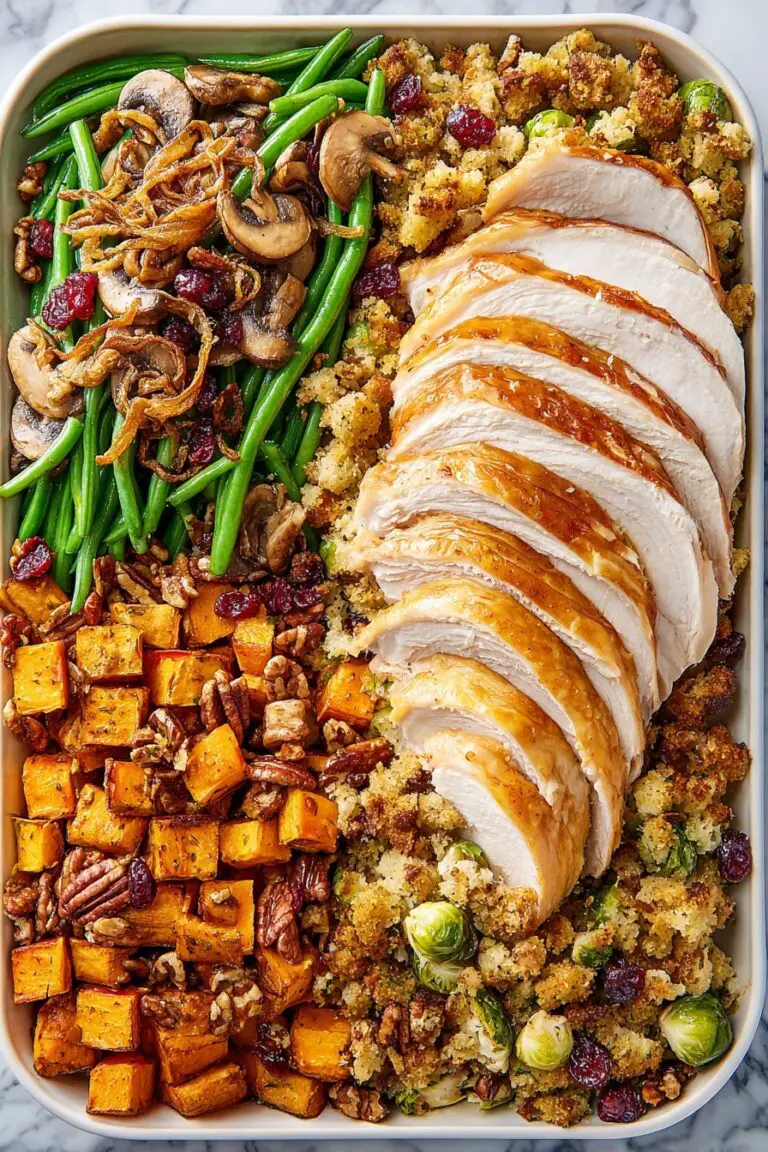
Personally, I love pairing these baked Halloween tortilla chips with homemade guacamole, chunky pico de gallo, or a spicy black bean dip. For a heartier snack, serve alongside chili or a loaded taco salad. It’s like having a full-on festive fiesta on your table!
Creative Ways to Present
One year, I served these chips arranged around little mini pumpkins and gourds on a rustic wooden board—it looked so cute and definitely got all the “oohs” and “aahs.” You can also place them standing up in colorful mason jars or fill a large glass bowl with candy corn and hide a pile of your chips inside for a fun surprise. Presentation is half the fun, especially at Halloween!
Make Ahead and Storage
Storing Leftovers
Once your chips have cooled completely, store leftovers in an airtight container or resealable bag at room temperature. I’ve found they keep crisp for about 2 to 3 days maximum—after that, they can start to lose their crunch. If you’re saving them for a party, plan to bake fresh batches to ensure maximum crispness.
Freezing
Freezing baked tortilla chips isn’t something I recommend because they tend to lose their crispy texture once thawed. It’s better to bake fresh when you want them, which is thankfully super quick with this recipe!
Reheating
If you want to crisp up leftover chips that have softened, just pop them in a preheated 350°F oven for 3-4 minutes. Keep a close eye on them so they don’t burn. This quick reheat brings back some of that original crunch—it’s a nice rescue trick!
FAQs
-
Can I use corn tortillas instead of flour for the Baked Halloween Tortilla Chips Recipe?
Absolutely! Corn tortillas work well and give a more traditional tortilla chip flavor, but be aware they can be a bit more fragile and might need a shorter baking time. Just watch them closely to avoid burning.
-
How do I prevent the chips from turning soggy after baking?
The key is letting them cool completely on the baking sheet before storing. Also, keeping them in an airtight container at room temperature helps maintain crispness. Avoid storing in plastic bags while warm or in humid environments.
-
Can I make these chips gluten-free?
Yes! Use gluten-free tortillas, which many brands offer nowadays. Just make sure your seasonings are gluten-free too. The baking process remains the same and these chips turn out just as crispy and delicious.
-
What are the best dips to serve with these Halloween chips?
Classic dips like guacamole, salsa, queso, or black bean dip are favorites. For a twist, try a chipotle ranch or a creamy avocado lime dip. These dips complement the crispy chips perfectly and add to the festive vibe.
-
Can I add other seasonings besides salt?
Definitely! Feel free to experiment with garlic powder, smoked paprika, chili powder, or even a blend of taco seasoning for extra flavor. Just sprinkle your desired seasoning over the chips before baking for the best results.
Final Thoughts
I absolutely love how this Baked Halloween Tortilla Chips Recipe brings a little extra joy and creativity to a classic snack. It’s become a beloved tradition in my house every fall—easy to make, fun to eat, and a guaranteed crowd-pleaser. Give it a try, and I promise you’ll be amazed how such simple ingredients can turn into a festive crunchy treat that’s perfect for sharing with family and friends. Happy baking (and Halloween snacking!)
Print
Baked Halloween Tortilla Chips Recipe
- Prep Time: 5 minutes
- Cook Time: 10 minutes
- Total Time: 15 minutes
- Yield: 4 servings
- Category: Snack
- Method: Baking
- Cuisine: American
Description
These Baked Halloween Tortilla Chips are a fun and festive snack perfect for the spooky season. Made with simple flour tortillas cut into spooky shapes, lightly coated with olive oil and seasoning, then baked until golden and crispy. They make a delightful addition to any Halloween party or a tasty treat on their own.
Ingredients
Ingredients
- 4 flour tortillas
- Cooking spray or 1-2 tablespoons olive oil
- Salt or seasoning of choice, to taste
Instructions
- Preheat the oven: Preheat your oven to 350°F (175°C) to prepare for baking the tortilla chips.
- Cut out shapes: Lay the flour tortillas flat on a clean surface and use Halloween-themed cookie cutters to cut out spooky shapes from the tortillas. Depending on the size of the cutters, you may be able to cut multiple shapes from each tortilla.
- Prepare baking sheet: Place the cut tortilla shapes on a baking sheet lined with parchment paper or a silpat mat to prevent sticking.
- Apply oil and seasoning: Lightly coat the tortilla shapes with cooking spray or brush them with olive oil to help the seasoning stick. Sprinkle salt or your choice of seasoning evenly over the chips.
- Bake the chips: Bake the tortilla shapes in the preheated oven for 10-12 minutes, or until they turn golden brown and crispy. Watch closely near the end to avoid over-browning.
- Cool and serve: Remove the chips from the oven and let them cool for a few minutes. Serve with your favorite dip or enjoy as a crunchy snack on their own.
Notes
- You can use any seasoning you like such as chili powder, garlic powder, or a taco seasoning blend for flavor variations.
- Use a sharp cookie cutter for crisp clean edges on your tortilla shapes.
- Keep an eye on the chips during baking as oven temperatures may vary and chips can burn quickly once they start browning.
- These chips are best enjoyed fresh to maintain their crispiness.
- Make sure to let the chips cool before storing in an airtight container to avoid moisture buildup.
Nutrition
- Serving Size: 1 serving (approx. 4-5 chips)
- Calories: 110
- Sugar: 0.2g
- Sodium: 150mg
- Fat: 5g
- Saturated Fat: 0.7g
- Unsaturated Fat: 3g
- Trans Fat: 0g
- Carbohydrates: 14g
- Fiber: 1g
- Protein: 2g
- Cholesterol: 0mg


