
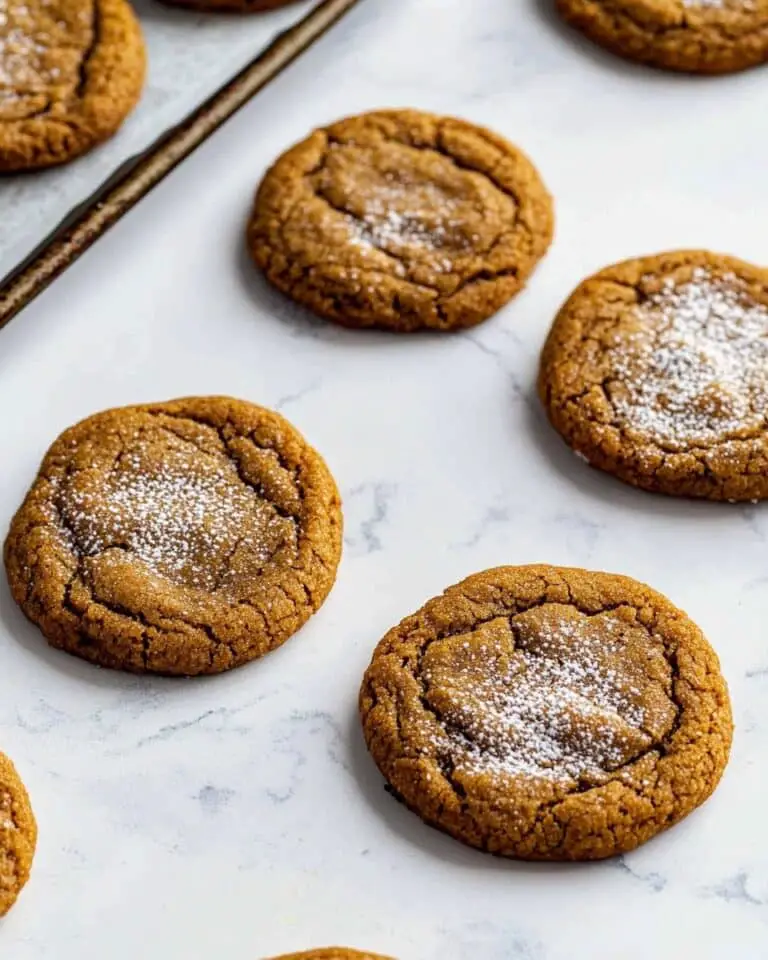
If you’re looking for a show-stopping treat that’s super easy to make and absolutely delicious, I’ve got just the thing for you: Snickerdoodle Oreo Truffles Recipe. These little balls of cinnamon-sugary goodness wrapped in creamy vanilla chocolate are downright addictive. When I first tried making them, I couldn’t stop at one, and I guarantee you’ll feel the same once you get a taste. Plus, they’re perfect for gift-giving, parties, or just sneaking bites straight from the fridge.
Why You’ll Love This Recipe
- Easy Ingredients: You probably already have most of the ingredients on hand, making this a quick whip-up dessert.
- Perfect Balance of Flavors: The cinnamon from the snickerdoodle spices blends beautifully with the sweet creaminess of Golden Oreos.
- No-Bake Convenience: No oven needed, just a bit of chilling time and melting chocolate.
- Versatile and Beautiful: You can dress them up with sprinkles or serve them plain—either way, they wow every crowd.

Ingredients You’ll Need
What really makes the Snickerdoodle Oreo Truffles Recipe shine is how these ingredients come together effortlessly to create rich, creamy bites bursting with cinnamon-sugar magic. Each ingredient has a role that’s easy to follow and results in perfect texture and flavor every time.

- Cream cheese: Make sure it’s softened for easy blending—this gives your truffles that luscious, smooth base everyone loves.
- Golden Oreo cookies: Golden Oreos give that classic vanilla cookie flavor which pairs so well with cinnamon compared to the regular chocolate ones.
- Ground cinnamon: The key to the snickerdoodle flavor; don’t skimp on this to keep that warm, cozy note.
- Vanilla extract: A little boost in flavor; real vanilla extract is best if you can.
- Vanilla almond bark: This melts into a creamy coating that hardens quickly—much easier than regular chocolate for dipping.
- Sprinkles (optional): They add a fun pop of color and extra sweetness if you’re feeling festive.
Variations
I love that this Snickerdoodle Oreo Truffles Recipe is so adaptable. You can easily tweak the flavors or add your own spin depending on the occasion or what you have on hand. Feel free to play around and make it your own—you’ll enjoy discovering how versatile it can be.
- Add a Twist with Spices: I once added a pinch of nutmeg and a little more cinnamon for extra warmth; it was a hit at Thanksgiving.
- Use Different Cookie Flavors: If you want to experiment, try Pumpkin Spice Oreos around fall for a subtle flavor change.
- Swap the Coating: Instead of vanilla almond bark, dipping in white chocolate or even dark chocolate can give a richer finish.
- Make It Vegan: Use dairy-free cream cheese and a vegan coating to fit dietary needs without losing the magic.
How to Make Snickerdoodle Oreo Truffles Recipe
Step 1: Crush the Golden Oreos to Fine Crumbs
This part is crucial for the perfect texture. I like using my food processor to get really fine crumbs — if your processor is small, you might have to do it in two batches. No processor? No worries! Put your Oreos in a heavy-duty freezer bag and crush ’em with a rolling pin until as fine as possible. The smoother the crumbs, the easier it’ll be to mix and roll the truffles later.
Step 2: Mix Cream Cheese, Crumbs, Cinnamon & Vanilla
Once your crumbs are ready, toss them into a large bowl and add the softened cream cheese, cinnamon, and vanilla extract. Using an electric mixer here makes life way easier. Blend until everything comes together into a smooth, uniform mixture. You’ll notice how the cinnamon adds that warm snickerdoodle scent right away — it’s my favorite part!
Step 3: Roll Into 1-Inch Balls and Chill
Next, roll the mixture into bite-sized balls, about 1 inch across, and place them on a baking sheet lined with parchment paper. Here’s a tip I discovered: if your hands get sticky, wet them with a bit of water before rolling, and it’ll be much easier. Pop the tray into the fridge for at least an hour — this helps the truffles firm up so they don’t fall apart when dipping.
Step 4: Melt the Vanilla Almond Bark
Time to melt your almond bark! I like using the microwave in 30-second bursts, stirring between each interval until smooth and silky. Be patient here—it’s easy to burn it if you rush this step. A nice smooth coating makes dipping so much easier and makes your truffles look glossy and professional.
Step 5: Dip the Truffles and Add Sprinkles (Optional)
Using a candy dipping tool or a fork, dunk each chilled ball into the melted almond bark one at a time. Let the excess drip off before placing it back on the parchment. If you’re using sprinkles, now’s the moment to get creative—add them before the coating sets so they stick perfectly. My kids love helping with this part, and it’s a fun way to customize for holidays or birthdays.
Step 6: Chill to Set and Enjoy
Finally, pop your coated truffles back in the fridge for at least an hour. This chilling step ensures the almond bark hardens into a lovely shell that holds the truffles together. Trust me, the wait is worth it. Once set, they’re ready to serve, gift, or stash for yourself.
Pro Tips for Making Snickerdoodle Oreo Truffles Recipe
- Chill the Mixture Well: I can’t stress enough—if your truffle mix is too sticky to roll easily, give it 15-30 minutes in the fridge or freezer to firm up; it’s a total game changer.
- Crush Cookies Finely: I’ve learned that the finer the cookie crumbs, the smoother the truffles’ texture—avoid big chunks so your bites are perfectly creamy.
- Use a Candy Dipping Tool or Fork: This helps coat the truffles evenly and allows excess coating to drip off cleanly, preventing messy drips on your tray.
- Add Sprinkles Quickly: Sprinkle while the coating is wet; otherwise, they won’t stick properly. I keep sprinkles within arm’s reach for perfect timing!
How to Serve Snickerdoodle Oreo Truffles Recipe

Garnishes
I usually keep it simple with just a dusting of cinnamon or colorful sprinkles for a playful touch. Sometimes I like pressing a small cinnamon stick or a few edible gold flakes on top for a special occasion—it instantly elevates the presentation and makes guests think you spent hours making these.
Side Dishes
These truffles pair wonderfully with a cozy cup of chai tea or a rich latte. For parties, I sometimes serve them alongside small fruit platters or a delicate cheese board—it’s a fun contrast between sweet and savory that guests go crazy for.
Creative Ways to Present
For birthdays or holidays, I like arranging these truffles in pretty paper liners inside a decorative box or tiered dessert tray. Wrapping a batch as gifts in clear cello bags tied with twine is another favorite—everyone loves getting these festive little bites!
Make Ahead and Storage
Storing Leftovers
Once your Snickerdoodle Oreo Truffles Recipe are chilled and set, keep them stored in an airtight container in the refrigerator. I like to separate layers with wax paper to keep them from sticking together. They’ll stay fresh and delicious for up to two weeks this way, so you can enjoy them over time without losing any of that snickerdoodle charm.
Freezing
Freezing is a great way to keep these little goodies for longer. I wrap them tightly in layers in a freezer-safe container, and they’ll last up to two months without a problem. When I want to enjoy them, I just thaw them overnight in the fridge—they taste just as good as freshly made!
Reheating
These truffles are best enjoyed cold, but if you want the coating slightly softer, you can let them sit at room temperature for 10-15 minutes before serving. Avoid microwaving as it can melt the coating unevenly and affect the texture inside.
FAQs
-
Can I use regular Oreos instead of Golden Oreos in this recipe?
Absolutely, you can substitute regular Oreos if you prefer the classic chocolate cookie flavor. Just keep in mind that the final taste will shift from the traditional snickerdoodle vibe to something a bit richer and more chocolatey. The cream cheese and cinnamon flavors will still shine through nicely.
-
What can I use if I don’t have a food processor?
No food processor? No problem! Place your Oreos in a sturdy ziplock bag and crush them with a rolling pin or even the bottom of a heavy skillet until you get fine crumbs. It’ll take a little elbow grease, but it works just as well for this recipe.
-
How long do Snickerdoodle Oreo Truffles last?
Stored properly in an airtight container in the fridge, these truffles will stay fresh and tasty for up to two weeks. For longer storage, freezing is an excellent option—as mentioned, they keep up to two months in the freezer without losing flavor or texture.
-
Can I make these truffles ahead of time?
Definitely! These truffles are actually easier when made ahead because chilling the mixture and coating helps them hold their shape perfectly. You can prepare them several days in advance and keep refrigerated or frozen until you’re ready to serve.
-
What’s the best way to melt almond bark without burning it?
Microwave the almond bark in short 30-second increments, stirring thoroughly after each interval. This gradual heating prevents scorching and ensures smooth, lump-free coating ideal for dipping your truffles.
Final Thoughts
Honestly, I absolutely love how this Snickerdoodle Oreo Truffles Recipe turns out every single time. It’s such a crowd-pleaser that’s easy enough to make on a weekday afternoon but special enough for holidays or celebrations. These truffles carry that nostalgic snickerdoodle warmth along with the indulgence of Oreo cookies and creamy coating — a combination that keeps my whole family coming back for more. I really hope you give this recipe a try because once you do, I bet it’ll become one of your favorite go-to desserts, too!
Print
Snickerdoodle Oreo Truffles Recipe
- Prep Time: 30 minutes
- Cook Time: 0 minutes
- Total Time: 1 hour 30 minutes
- Yield: 30 truffles
- Category: Dessert
- Method: No-Cook
- Cuisine: American
- Diet: Vegetarian
Description
These Snickerdoodle Truffles are a delightful, no-bake treat combining the cinnamon sugar flavor of classic snickerdoodle cookies with creamy cream cheese and a vanilla almond bark coating. Perfectly bite-sized and easy to make, these truffles are a deliciously festive dessert or snack, featuring a crisp outer shell and a soft, cinnamon-infused center.
Ingredients
Truffle Mixture
- 8 ounces cream cheese, softened
- 36 golden Oreo cookies (14.3 ounce package)
- 2 teaspoons ground cinnamon
- 1 teaspoon vanilla extract
Coating
- 16 ounces vanilla almond bark
- Sprinkles, optional
Instructions
- Prepare Work Surface: Line a sheet pan or rimmed tray with parchment paper and set aside to place the truffles later.
- Crush the Cookies: Use a food processor to crush the golden Oreo cookies into fine crumbs. Depending on your food processor size, you may need to process the cookies in two batches for an even crumb.
- Mix Ingredients: In a large mixing bowl, combine the softened cream cheese, crushed cookie crumbs, ground cinnamon, and vanilla extract. Using an electric mixer, blend the mixture until it is fully incorporated and smooth.
- Form Truffle Balls: Roll the combined mixture into 1-inch balls and place them evenly spaced on the prepared baking sheet lined with parchment paper.
- Chill the Balls: Refrigerate the truffle balls for at least 1 hour to firm them up before dipping.
- Melt Almond Bark: Melt the vanilla almond bark in the microwave in 30-second intervals, stirring well after each to achieve a smooth, melted consistency without burning.
- Coat the Truffles: Using a candy dipping tool or a fork, dip each chilled truffle ball into the melted almond bark, allowing excess coating to drip off. Place the coated truffles back onto a lined sheet pan. If desired, immediately decorate by sprinkling sprinkles on top before the coating sets.
- Set and Chill: Refrigerate the coated truffles for at least an hour to fully set the coating before storing or serving.
Notes
- Separate layers of truffles with wax paper when storing to prevent sticking. Store in an airtight container in the refrigerator for up to 2 weeks or freeze for up to 2 months.
- If you don’t have a food processor, use a blender or place the cookies into a freezer bag and crush them finely with the smooth end of a meat tenderizer or rolling pin.
- If the truffle balls are too sticky to handle, chill them in the fridge or freezer for 15-30 minutes to firm them up before rolling or dipping.
Nutrition
- Serving Size: 1 truffle
- Calories: 140
- Sugar: 12g
- Sodium: 80mg
- Fat: 8g
- Saturated Fat: 5g
- Unsaturated Fat: 2g
- Trans Fat: 0g
- Carbohydrates: 16g
- Fiber: 0.5g
- Protein: 1.5g
- Cholesterol: 15mg


