
If you’re looking for a fun, festive twist on a classic comfort food, this Spooky Grilled Cheese Recipe is exactly what you need. It’s quick, easy, and downright adorable—perfect for Halloween or anytime you want to bring a little spookiness to your snack game. I absolutely love how this grilled cheese comes together with that eerie cut-out detail, making it a hit with kids and adults alike. Trust me, once you try it, you’ll find it’s a total game-changer for seasonal snacks or last-minute treats.
Why You’ll Love This Recipe
- Super Fast and Simple: It only takes about 8 minutes from start to finish, so you’re never stuck waiting.
- Fun and Festive: The Halloween cookie cutter cut-out is a playful detail kids especially love.
- Melty, Gooey Perfection: All you need is good cheddar cheese and pumpernickel bread for a seriously tasty combo.
- Flexible Ingredients: Easily swap in your favorite bread or cheese to personalize your spooky grilled cheese.

Ingredients You’ll Need
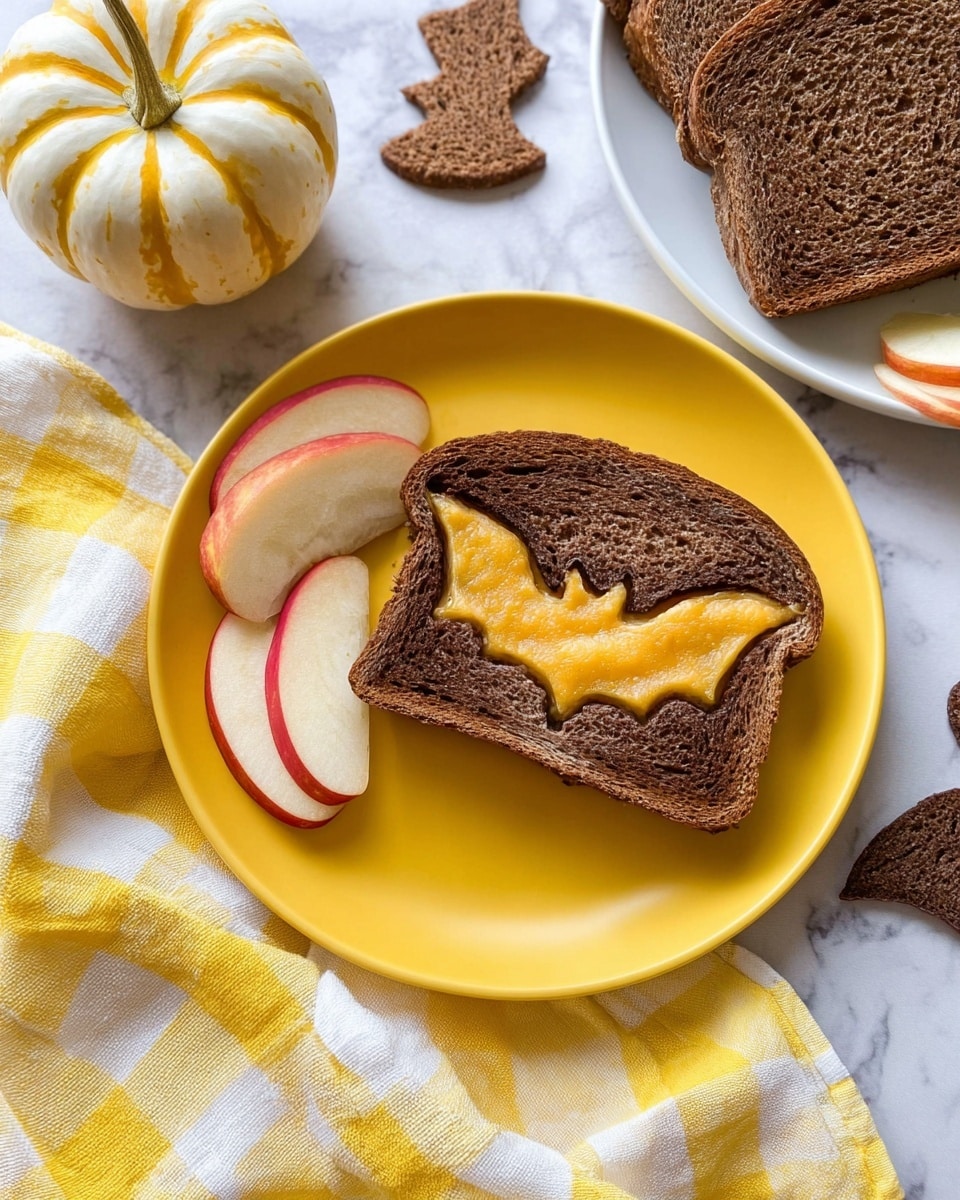
Choosing just the right bread and cheese is key here. I love using pumpernickel or dark rye because they add a rustic, slightly smoky flavor that complements the cheddar brilliantly. Plus, the dark bread makes the “spooky” cutouts pop visually. And butter? It’s what helps to get that golden, crispy crust that makes grilled cheese, well, grilled cheese!
- Butter: Use real butter for the best flavor and crispness; it browns beautifully and adds richness.
- Pumpernickel or Dark Rye Bread: These breads have great flavor and hold up well to grilling without getting soggy.
- Cheddar Cheese: Sharp or mild cheddar works; sharper cheddar adds a nice bite, but mild melts easier.
Variations
I love how versatile this Spooky Grilled Cheese Recipe is—you can easily mix it up depending on what you have on hand or how adventurous you’re feeling. Don’t be afraid to get creative with flavors!
- Spicy Twist: Add a little sliced jalapeño or sprinkle some cayenne in with your cheese—my family goes crazy for the extra kick.
- Different Cheese: Try muenster or mozzarella for a gooey, stringy melt, or even a combination of cheeses for complexity.
- Gluten-Free Option: Use your favorite gluten-free bread; just watch the grilling time since some gluten-free breads toast differently.
- Vegan Version: Use plant-based butter and vegan cheese slices to keep the spooky vibe cruelty-free.
How to Make Spooky Grilled Cheese Recipe
Step 1: Cut Out Your Spooky Shapes
Grab your Halloween-themed cookie cutter—this is where the magic happens! Using it, cut out the centers of four slices of bread. This is the part that makes this grilled cheese totally fun and festive. Don’t worry if your shapes aren’t perfect; a little imperfection adds character and charm!
Step 2: Heat Butter and Toast Bread
Melt butter over medium heat on your griddle or skillet. You want it hot enough so the bread sizzles but not so hot it burns. Start cooking both the cut-out center pieces and the whole bread slices for about 3 minutes. You’ll notice the edges start to turn a gorgeous golden brown—that’s exactly what you want!
Step 3: Add Cheese and Assemble
Flip the whole slices of bread, then place a slice of cheddar on top. Next, set the un-toasted cut-out bread pieces right over the cheese. Cover the pan to help the cheese melt evenly, and let everything cook for another 3 minutes. Keep an eye on it—when the cheese is melty and the bread is nicely crisped, your spooky grilled cheese is ready!
Step 4: Serve and Enjoy
Carefully remove your spooky grilled cheese sandwiches from the pan and serve them up warm. The fun cut-out shapes make them perfect for Halloween parties, but honestly, my family asks for these treats all fall long.
Pro Tips for Making Spooky Grilled Cheese Recipe
- Use a Nonstick Skillet: This helps prevent the delicate cutouts from sticking and tearing when flipping.
- Cover the Pan: Covering traps heat, helping the cheese melt perfectly without burning the bread.
- Low and Slow for Crispiness: Cooking over medium rather than high heat ensures the bread crisps evenly without burning.
- Don’t Skip Butter on Both Sides: Butter both sides of the bread for ultimate golden, flaky crust.
How to Serve Spooky Grilled Cheese Recipe
Garnishes
I often sprinkle a little smoked paprika or black pepper on top for added color and a subtle kick—it really makes the sandwich pop visually and flavor-wise. Sometimes I throw in a few fresh basil leaves on the side to brighten up the plate. The contrast between the smoky bread and fresh herbs is lovely.
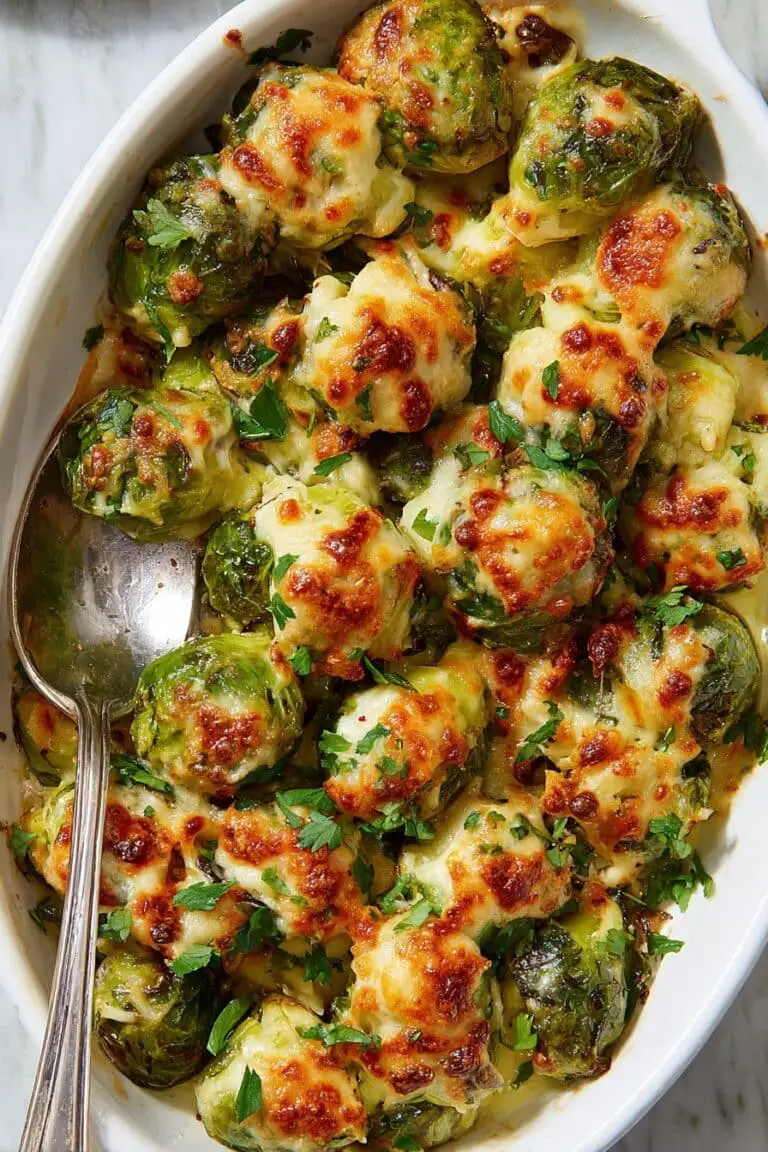
Side Dishes
My go-to sides with this spooky grilled cheese are a warm cup of tomato soup for dunking and some crunchy carrot sticks or celery. The soup’s tangy sweetness balances the cheesy richness perfectly. Plus, it’s a classic combo you can’t go wrong with.
Creative Ways to Present
For Halloween parties, I like arranging the sandwiches on a platter with the cut-out shapes standing up, almost like little ghosts or pumpkins. Using a white or orange plate amps up the spooky vibe. You can even tuck in some candy eyeballs or plastic spiders around the platter for a whimsical touch that guests adore.
Make Ahead and Storage
Storing Leftovers
If you have leftovers (which rarely happen in my house!), wrap them tightly in plastic wrap or place them in an airtight container. They keep well in the fridge for up to 2 days—but be warned, the crispy texture softens over time.
Freezing
I don’t often freeze these sandwiches since fresh grilled cheese tastes so much better, but you can freeze them individually wrapped on baking sheets, then transfer to a freezer bag. When you’re ready, thaw and crisp them up in a skillet for best results.
Reheating
To reheat, skip the microwave if you want to preserve that crispy crust. Instead, pop your grilled cheese back onto a warm skillet or griddle for a few minutes on each side until reheated and golden. This really brings back the fresh-from-the-pan vibe.
FAQs
-
Can I use any bread for the Spooky Grilled Cheese Recipe?
Absolutely, yes! While I prefer pumpernickel or dark rye because of their flavor and sturdiness, you can use sourdough, white bread, or whole wheat. Just make sure the slices are not too thick or too thin so they grill evenly and hold the cheese well.
-
What kind of cheese melts best for this recipe?
Sharp cheddar is my top choice since it melts nicely and has great flavor, but you can also use mozzarella, muenster, or even a blend. The key is to pick cheese that melts well without separating or becoming greasy.
-
How do I prevent the cut-out bread pieces from falling apart?
Use a sharp cookie cutter and press firmly but gently. Also, cooking on medium heat ensures they crisp up and hold their shape. Lastly, flipping carefully with a spatula helps keep them intact.
-
Can I make this recipe vegan?
Yes! Substitute vegan butter and your favorite plant-based cheese slices. The result won’t be quite the same, but still delicious and festive.
Final Thoughts
Making this Spooky Grilled Cheese Recipe has become a lighthearted tradition for me each fall. I love how simple it is and how it always brings a smile to my face (and everyone else’s!). Whether you’re sharing it with kids or sneaking one yourself, it’s the kind of recipe that’s as much fun to make as it is to eat. Give it a try—you’ll wonder why you didn’t think of spooky grilled cheese sooner!
Print
Spooky Grilled Cheese Recipe
- Prep Time: 2 minutes
- Cook Time: 6 minutes
- Total Time: 8 minutes
- Yield: 4 servings
- Category: Sandwich
- Method: Frying
- Cuisine: American
Description
A fun and festive Halloween-themed grilled cheese sandwich made by cutting spooky shapes out of pumpernickel or dark rye bread and layering cheddar cheese inside. Perfect for a quick, delicious, and visually appealing snack or lunch.
Ingredients
Ingredients
- Butter, enough for cooking
- 8 slices pumpernickel or dark rye bread
- 4 slices cheddar cheese
Instructions
- Prepare Bread Shapes: Using a Halloween-themed cookie cutter, cut out the centers of four slices of the bread to create spooky shapes.
- Heat Butter: Heat butter in a griddle or skillet over medium heat until melted and hot.
- Cook Bread Pieces: Place the cut-out center pieces of bread and the remaining whole slices of bread onto the skillet. Cook for approximately 3 minutes until the bread starts to toast.
- Assemble Grilled Cheese: Flip the whole slices of bread over, place a slice of cheddar cheese on each, then top with the corresponding un-cooked cut-out pieces of bread.
- Finish Cooking: Cook for an additional 3 minutes or until the cheese is melted and the bread is golden brown.
- Serve: Remove from the skillet and serve immediately while hot and melty.
Notes
- Use a non-stick pan or well-seasoned skillet to prevent sticking.
- Choose a sharp cheddar cheese for a more flavorful sandwich.
- Experiment with different cookie cutter shapes to customize for other holidays or occasions.
- Serve with tomato soup or a side salad for a complete meal.
Nutrition
- Serving Size: 1 sandwich
- Calories: 320
- Sugar: 2g
- Sodium: 550mg
- Fat: 18g
- Saturated Fat: 10g
- Unsaturated Fat: 6g
- Trans Fat: 0.2g
- Carbohydrates: 26g
- Fiber: 3g
- Protein: 13g
- Cholesterol: 45mg


